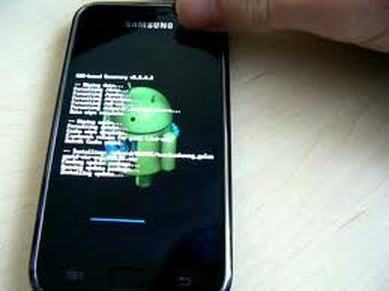
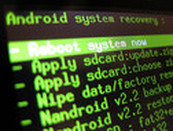
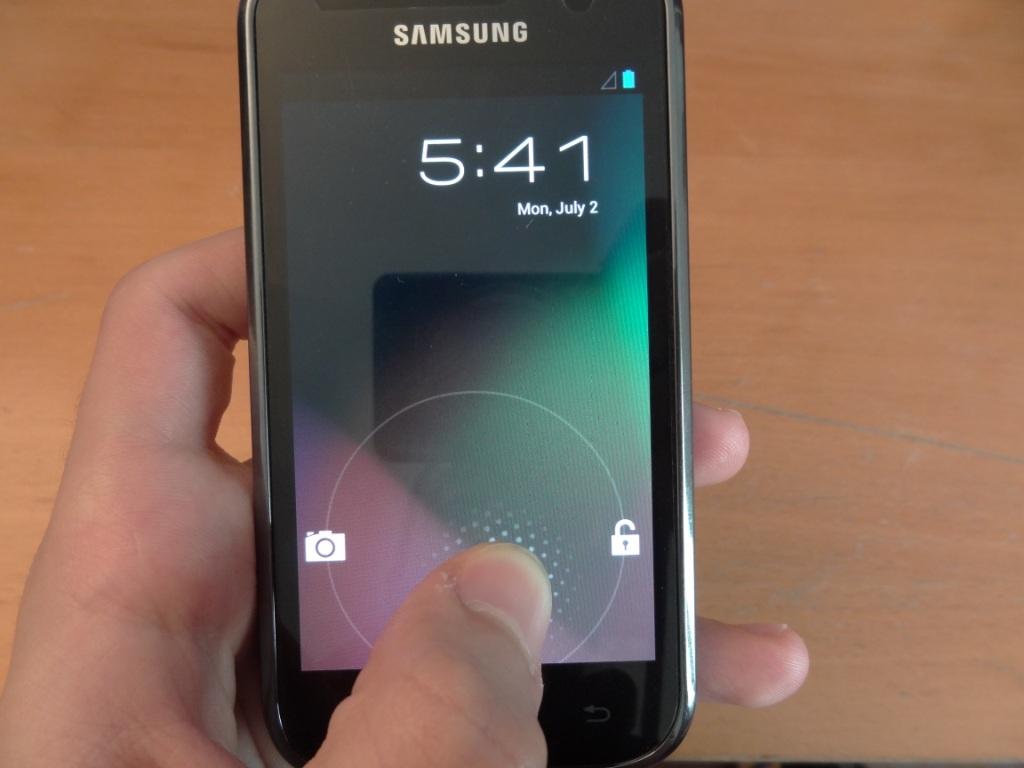
 Well, it’s pretty easy if you’ve already had fun flashing using Odin a decent number of times already. Off course This method can be used to unlock Samsung Galaxy S I9000 to all networks easy too. Update: This version it's not official version from Samsung. All credits and thanks goes HERE on the official page of developer. 1 Download the latest version of “Android 4.0 ROM from here. (Be careful while downloading since that page has downloads for all version of Galaxy S for which this rom is available. Download one meant for your phone, i9000.) 2 Transfer the rom file to your phone’s sdcard. Power off phone. 3 Press and hold these 3 buttons together: VolumeUP+Home+Power utill the Galaxy S logo shows up on screen. You’ll boot into CWM recovery soon enough. (In recovery, use Volume keys to scroll up and down and power key to select an option. Use back key to go back. 4 Do Wipe Data/Factory Reset - Do Wipe Cache Partition, Go to advanced and do Wipe Dalvik Cache 5 Select install zip from sdcard » choose zip from sdcard » browse through sdcard and select the rom file you downloaded to step 1 6 After flashing necessary stuff, phone will boot up into recovery again. You will notice it’s a different recovery, colored blue now, and this is what was flashed in above step to make the phone ready for installation. 7 Now, flash the rom file again. Select install zip from sdcard » choose zip from sdcard » browse through sdcard and select the rom file you downloaded to step 1. 8 Go back and select ‘reboot system now’ to restart the phone. Be patient while phone boots up, it may take between 5 to 15 mins for first boot (don't worry is just first time this). Now you have ICS on your Galaxy S I9000 (tested method personally by me it's working 100%) If you have questions please use comments contact or chat on-line. ICS on Galaxy S i9000 [Overview]
2 Comments
XDA User
5/30/2012 02:26:31 am
u should mention its not official and proper thanx to developer. but useful tutorial though. Leave a Reply. |
Custom [ROM] ROOT
Samsung galaxy S3 sim unlock

Install Google apps and market on non Google devices

Where to find best ROM for HTC sensation

Best Jelly Bean Custom ROM for Samsung galaxy Note N7000
Is it good to Root my phone?

Best way Improve android battery life

Best ROM for galaxy Note N7000
Jelly Bean for Samsung Galaxy S I9000

How to unlock iPhone locked with phone lock code

What is the best [ROM] for HTC sensation XE

HTC sensation XE ROOT and S-OFF

Increase your battery life by "Bump charging".

ROOT Samsung Galaxy S Plus and Gaming with Chainfire 3D

How to root HTC One X easy. One click root.
|

